
 Yes, it’s ANOTHER meringue cookie recipe. Of all the recipes that are approved for my very strict HCG diet, this is by FAR my favorite one. I went to the supermarket looking to see if there was such a thing as oil-free mint extract, so that I’d have an easier time making the mint-flavored meringues. While I was there I discovered a ton of different extracts! Of all the ones they had (including orange, lemon, and anise), raspberry definitely sounded the most promising.
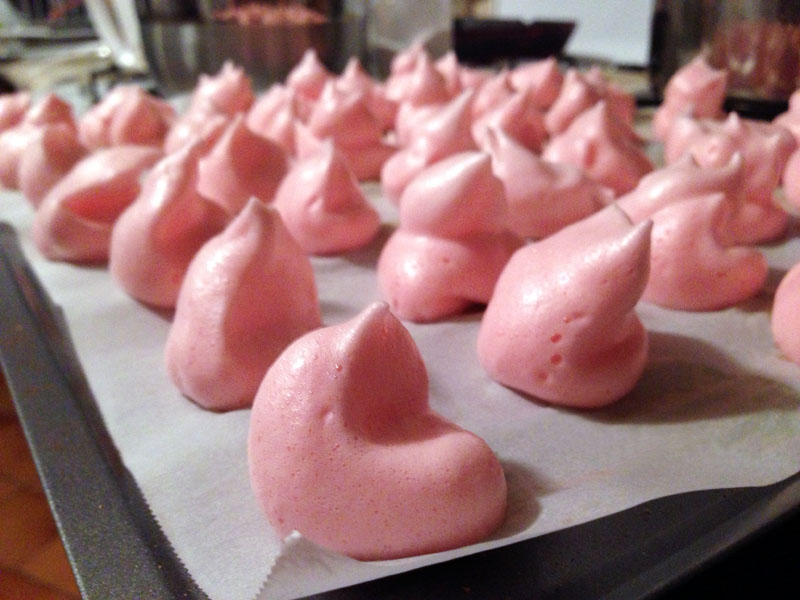
I was not disappointed in the slightest! That light, sweet hint of raspberry was just what I needed to keep me from getting sick and tired of eating meringue cookies.
Sugar-free Raspberry Flavored Meringue Cookies
Ingredients:
- 1/2 cup liquid egg whites (or the equivalent, which is three egg whites)
- 2-4 Tbs. Truvia (Lately I’ve been playing around with the amount of Truvia. I normally use 2 tbs., but lately I’ve been using 3.)
- 1/4 teaspoon cream of tartar
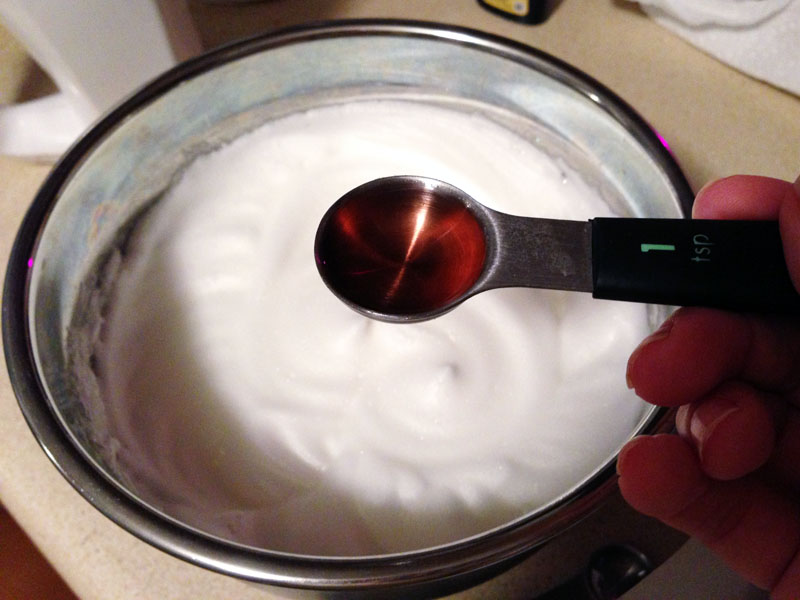
- 1 teaspoon raspberry extract
- Red food coloring – 6 or 7 drops (optional!!! I just like the way it looks)
Instructions:
1. Place the liquid egg whites into a METAL bowl and let them warm up to at least room temperature. (I place the bowl on the oven while the oven is pre-heating so the egg whites get even warmer.) This step is crucial.
2. Preheat the oven to 215 degrees Fahrenheit.
3. Line a cookie sheet with parchment paper.

4. Beat the eggwhites for a few minutes, until they start to stiffen.
5. Slowly add in the Cream of Tartar while continuing to beat the egg whites.

6. Slowly add in the Truvia while continuing to beat the egg whites.

7. Add the raspberry extract and continue to beat. I usually try to drizzle it down the side of the bowl, as opposed to just pouring it in the center, so as not to disturb the meringue.
8. Add the food coloring and mix it well.

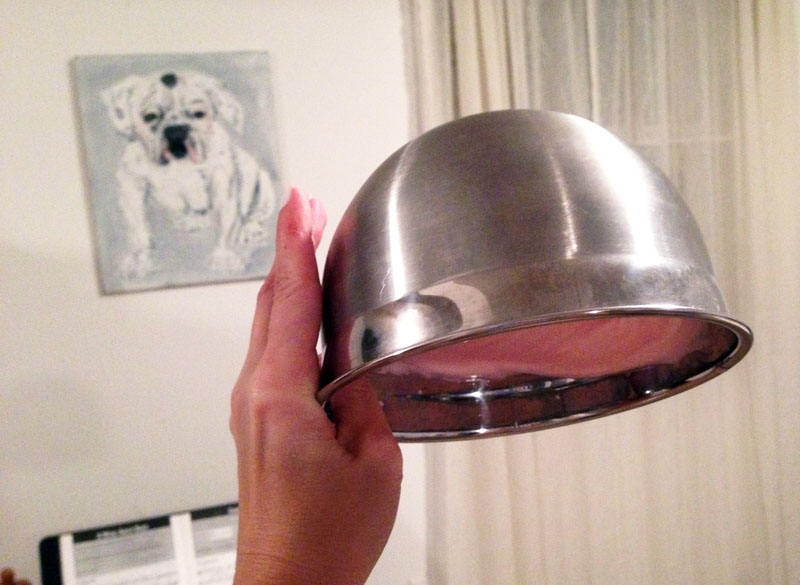
(The total beat time is about 10 minutes. You’ll know you’re done when you’re able to turn the bowl upside down and nothing falls out.)
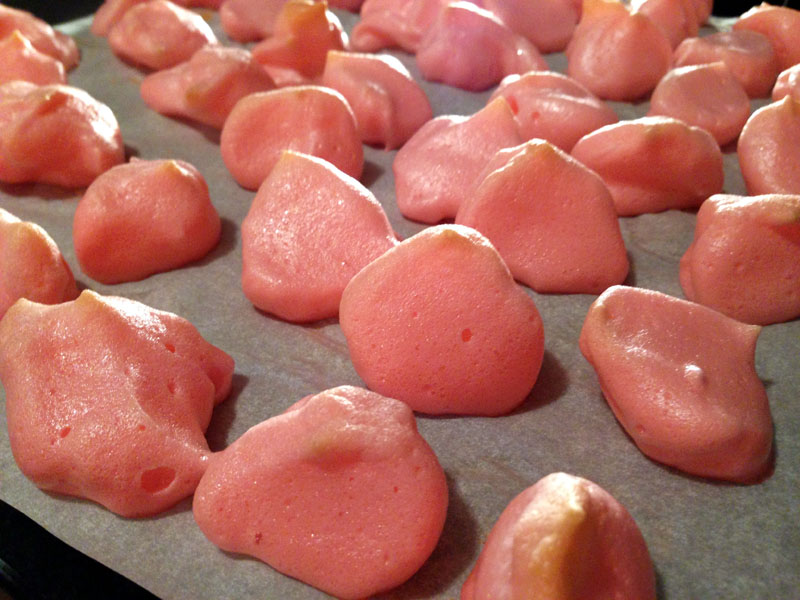
8. Use a spoon to dollop the egg whites on to the parchment paper (I usually aim for 36 small cookies, but when you increase the amount of Truvia you are also increasing the amount of meringue, which is why the meringues in these pictures are bigger than normal).
9. Put the tray in the oven for 25 minutes.
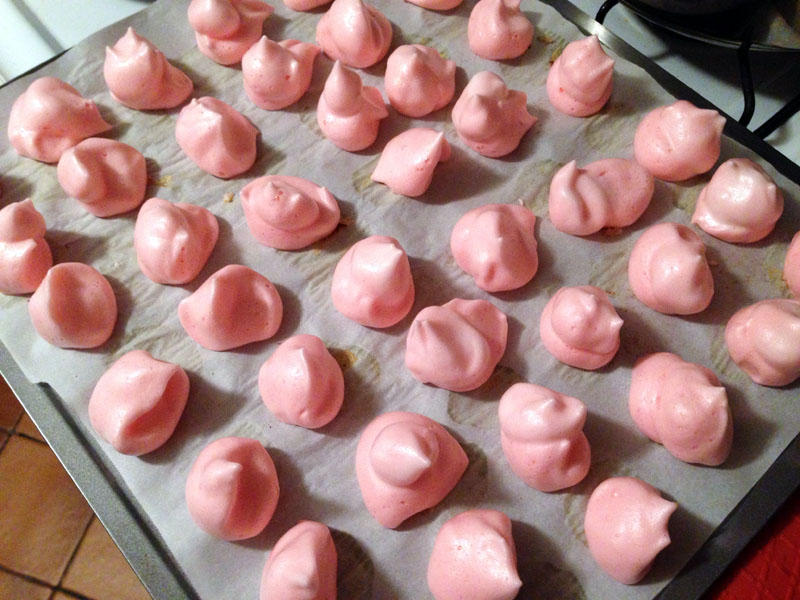
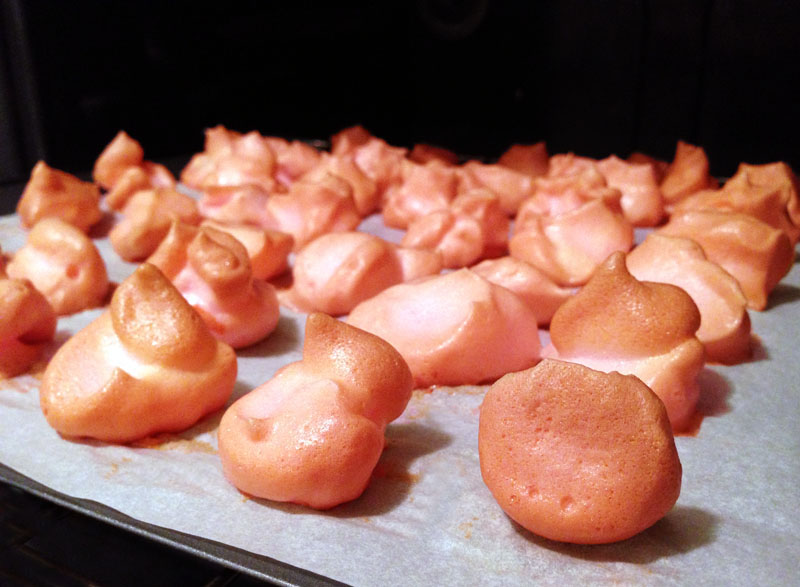
10. Rotate the tray and leave it in for another 22 minutes. (Every minute makes a difference. I like the texture the best at 22 minutes, but you might like them crunchier at 23 or 24 minutes. Feel free to experiment!) This pic is of them halfway done, hence the browning on top:
11. When the time is up, turn the oven off but leave the cookies in there for a while. In the summer when it’s humid I leave them in the oven for an hour or two and then transfer them straight into a tupperware so they don’t get soggy. But in the winter I might only leave them in the oven for 20 minutes and then leave them on the stovetop for several hours.
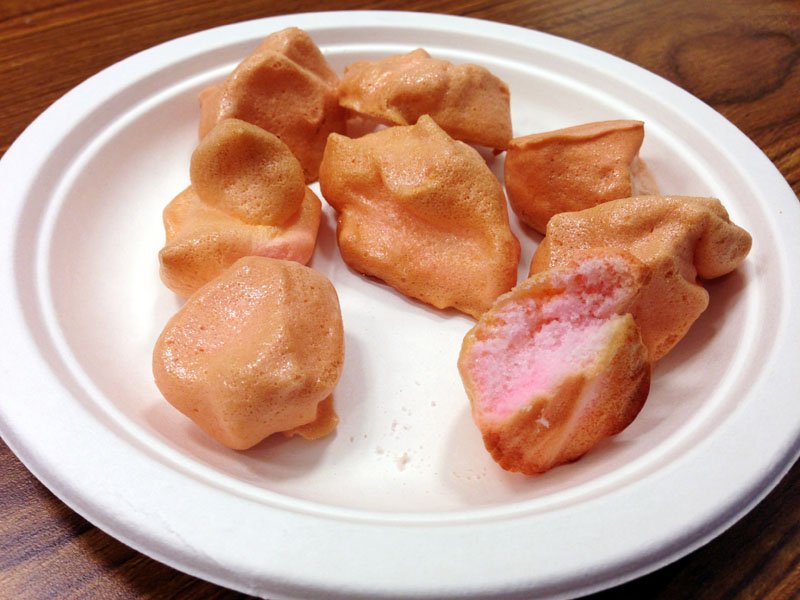
All finished:


Hi, can you tellme what happened to the texture when you used Stevia liquid extract? I am not sure if some kind of bulky sugar product is needed to bulk up the product and keep shape or whether it is just the egg white doing the work?
Many thanks.
Bekki.
x