 The first time I made this I had just eaten dinner and was having a major chocolate craving. Of course I was on a diet (because seriously, when am I NOT on a diet?), so I decided to make some of my sugar-free Chocolate Delight.
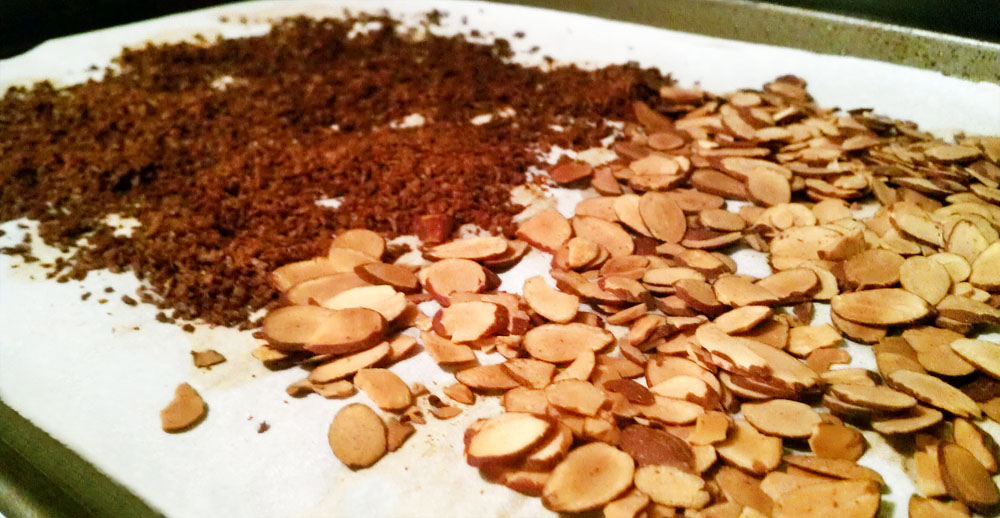
I also happened to be on a coconut kick around that time. Coconut meringues, piña colada ice cream, macaroons – I was on a tear. So when it came time for me to add my “toppings” to my chocolate, of course it was a no-brainer – I was definitely adding some toasted coconut. (Sidenote – there are few things that smell better than toasted coconut. It’s heavenly!)
THEN I had the brilliant realization that if I were to add some almonds to the mix, it would kinda be like I was eating an Almond Joy, which is one of my all-time favorite candies. So that’s what I did.
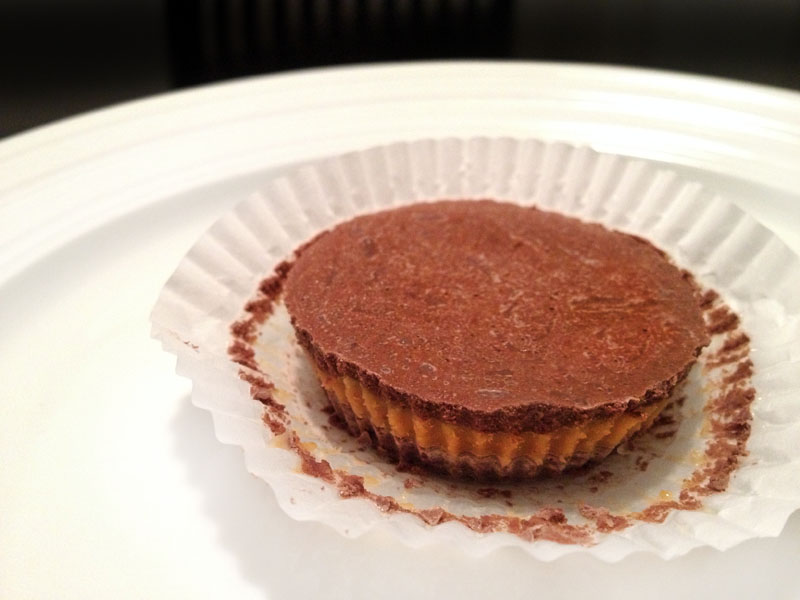
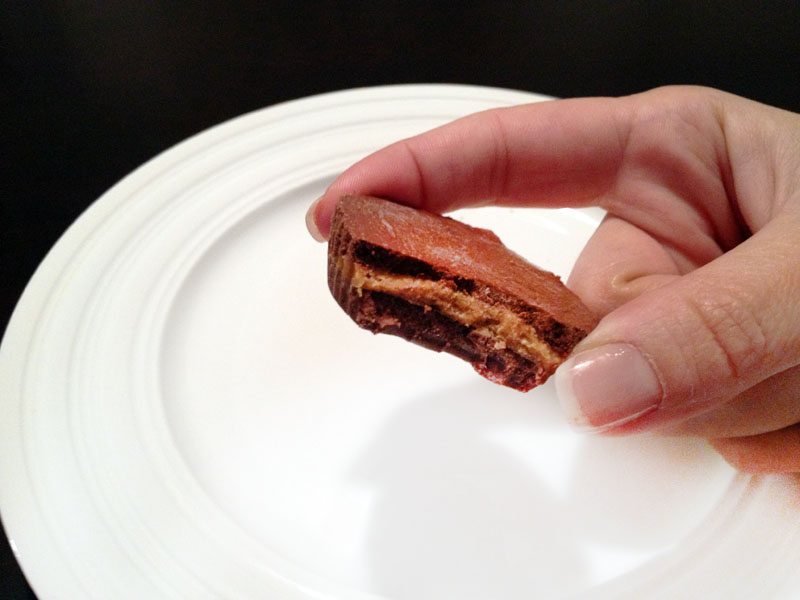
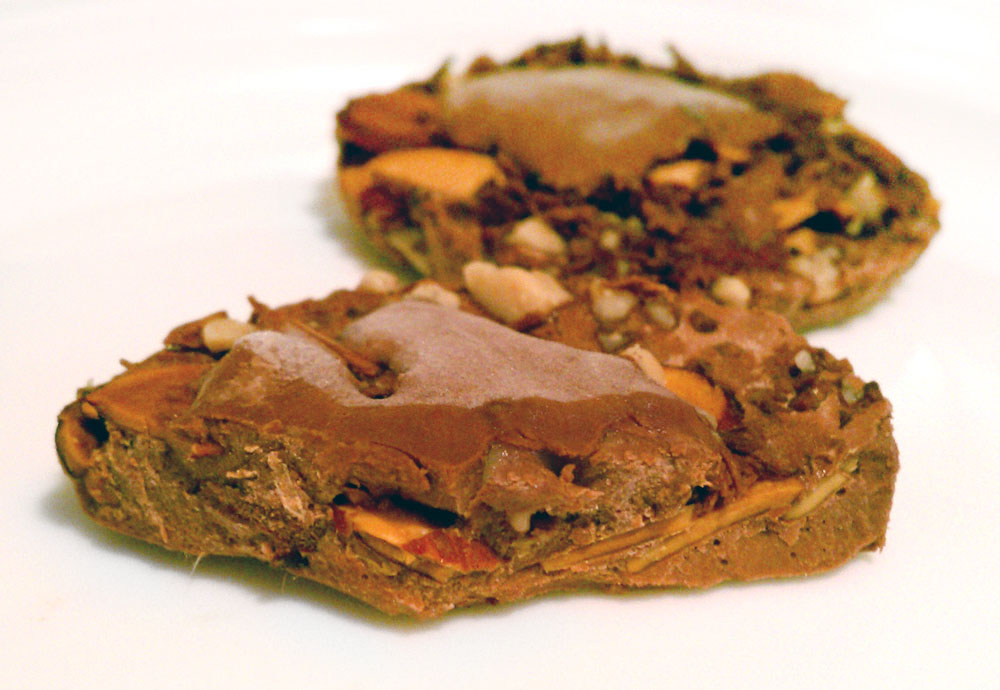
You already know my diet mantra – sometimes all you need is a hint of a flavor to get you through a craving. Well, this recipe does exactly that. While it didn’t have the gooey coconut filling of an Almond Joy, the flavor was there and it was AMAZING!
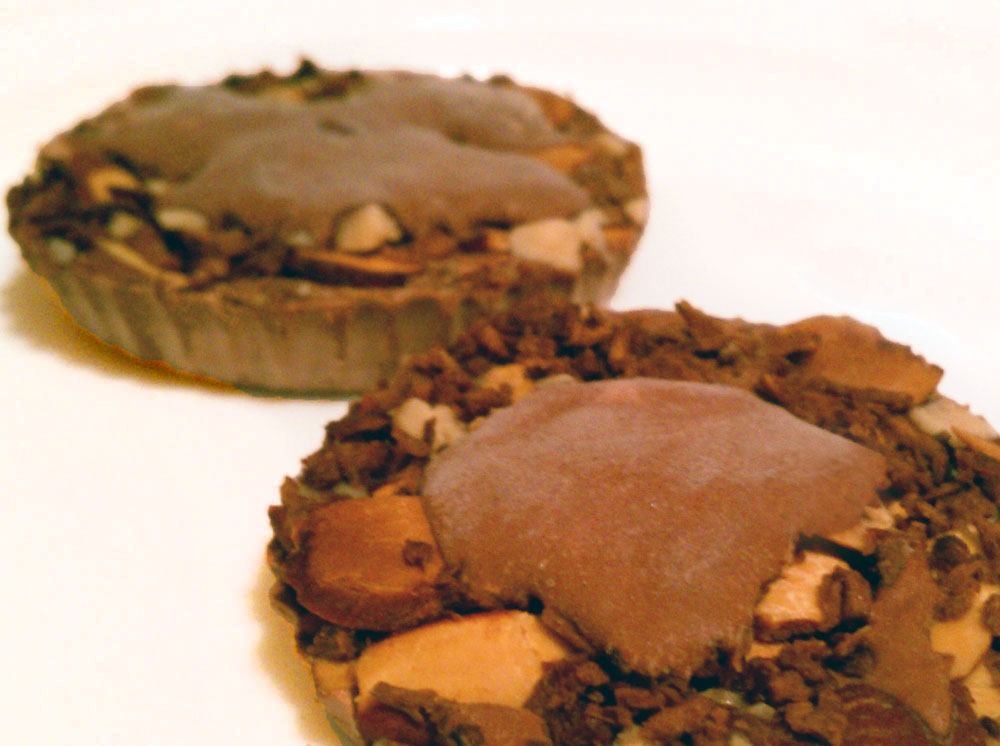
Sugar-free chocolate with coconut and almonds
(aka “Almost an Almond Joy”)
Ingredients:
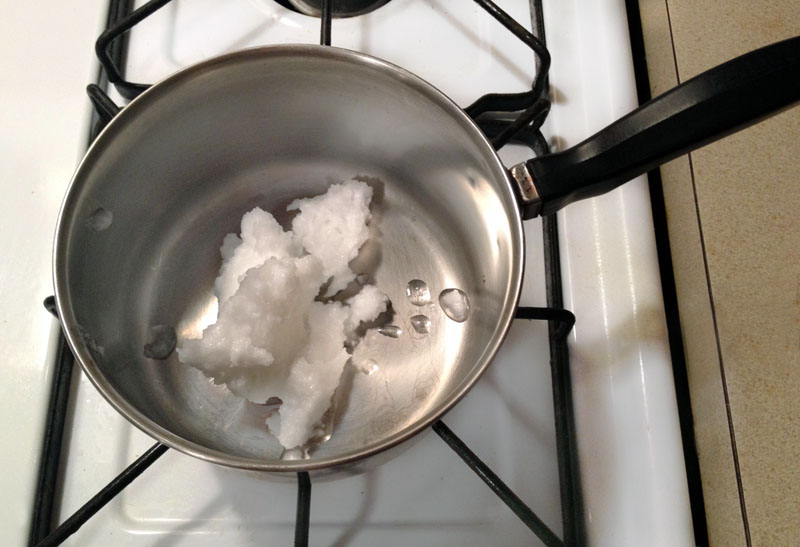
- 1/4 cup coconut oil
- 3 tbs unsweetened cocoa powder
- 1/4 tsp vanilla extract
- 2-4 tbs. low-fat half and half (or milk) – optional
- 1/8 tsp. cinnamon
- Dash of salt
- 5 tsp. Truvia (7 packets)
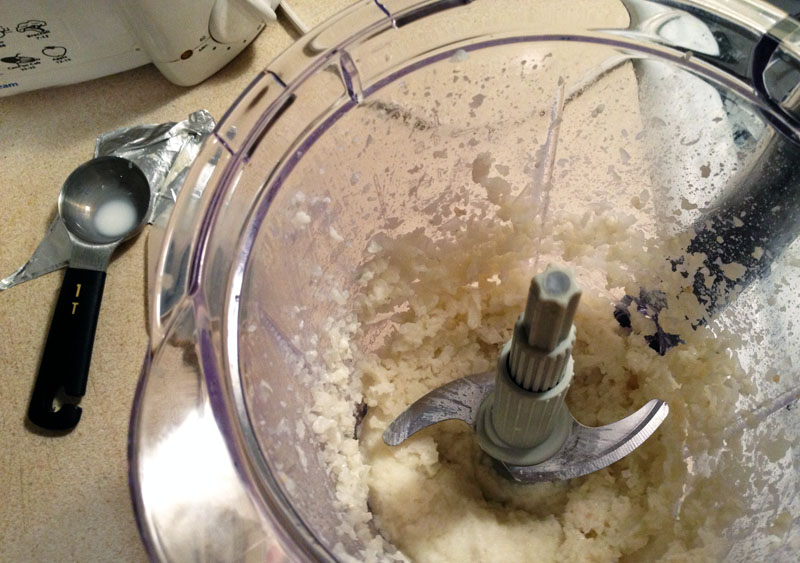
- 2 tbs. shredded coconut
- 2 tbs. almond slivers
- Cupcake liners
Directions:
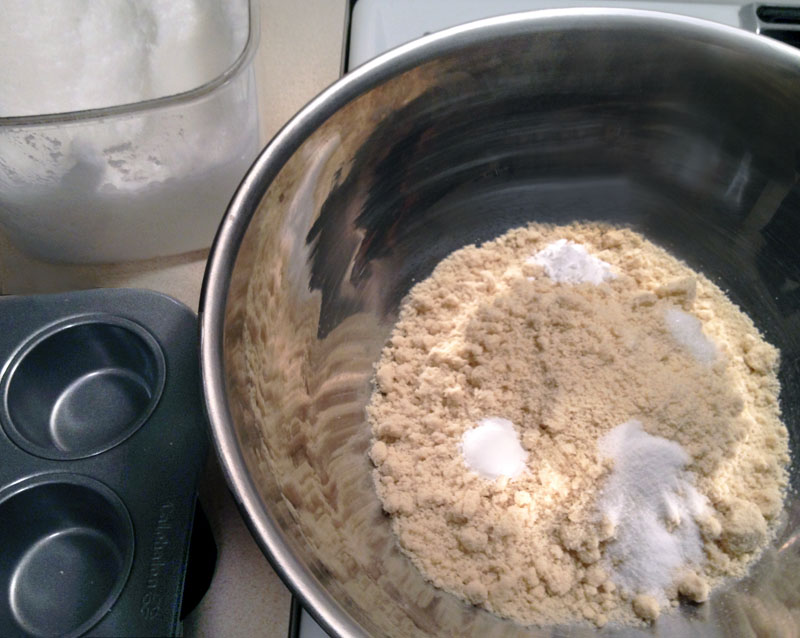
1. Preheat the oven to 375. Spread the coconut and almonds in a thin layer onto a cookie sheet. Bake for 5-10 minutes (be careful not to burn the coconut.)
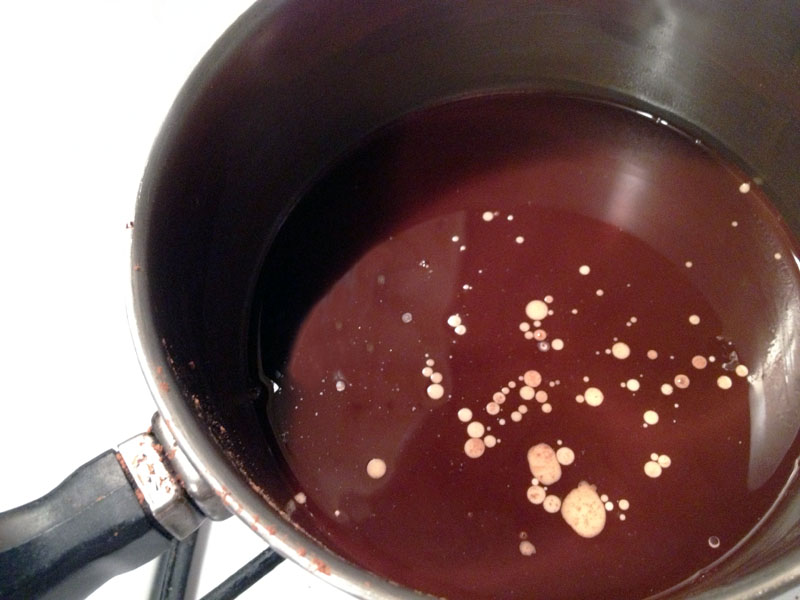
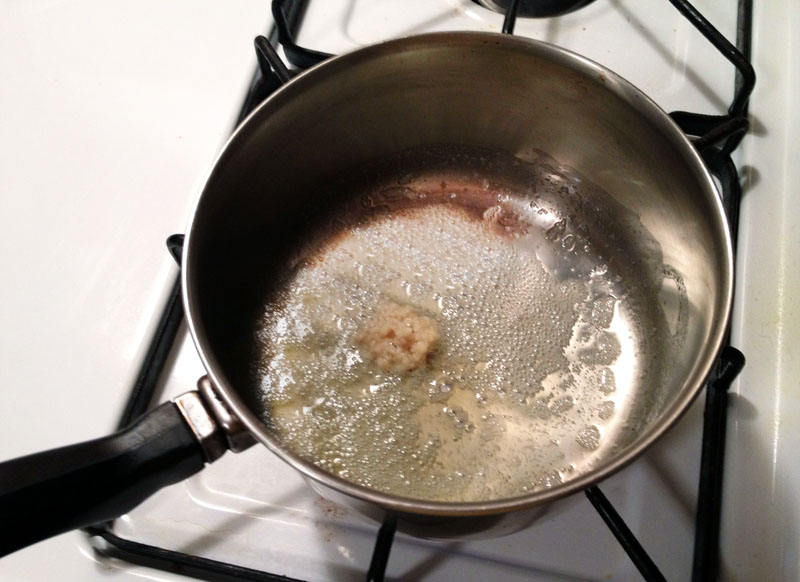
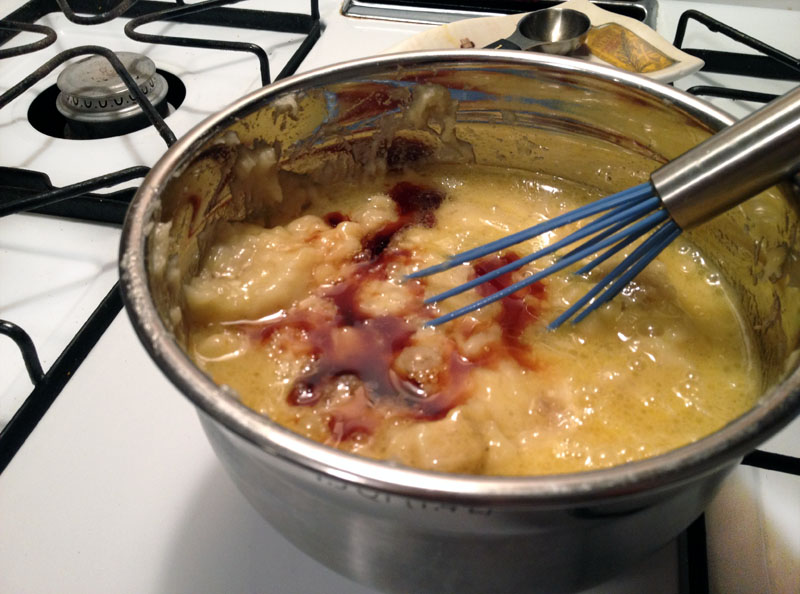
 2. Melt the oil, stir in the cocoa powder, then add the half and half, truvia, cinnamon, salt, and vanilla. You can find the full instructions for Chocolate Delight HERE.
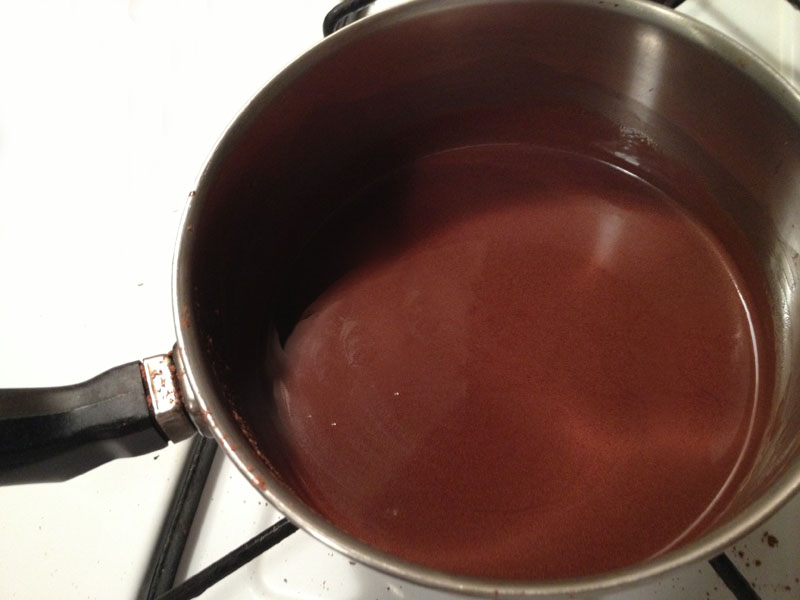
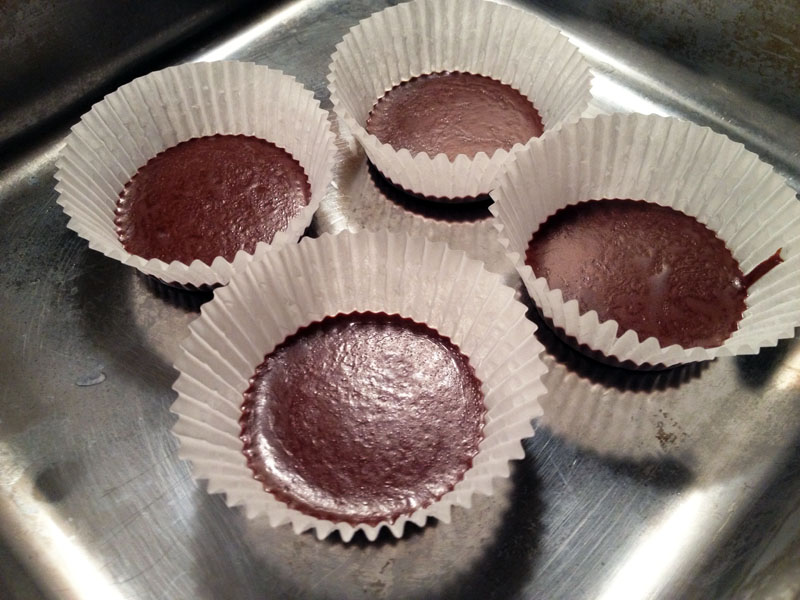
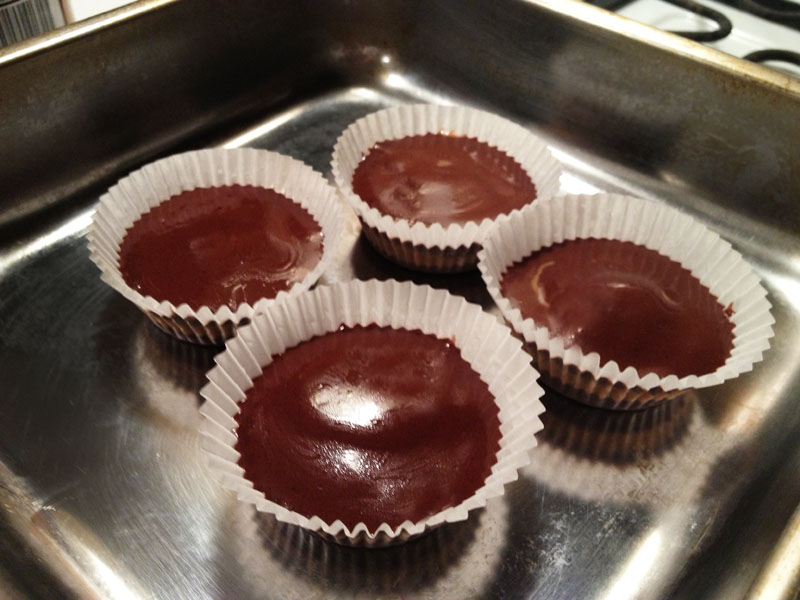
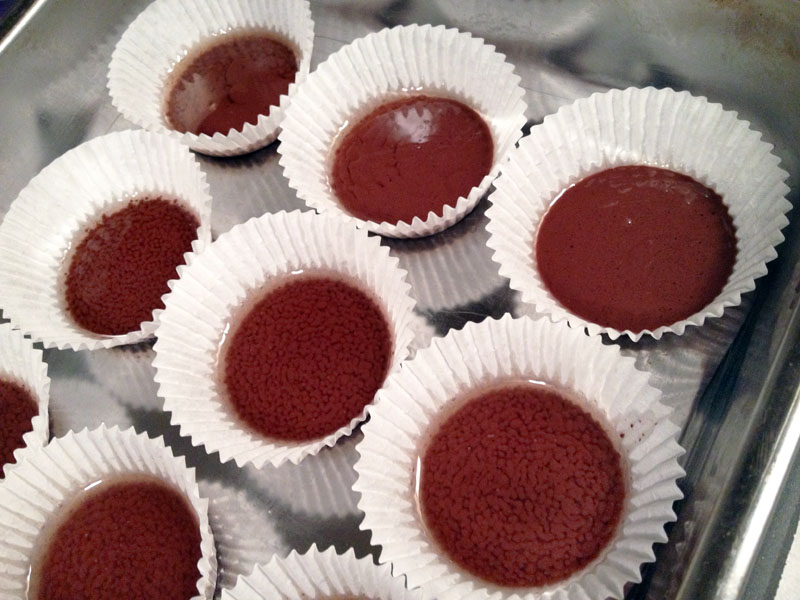
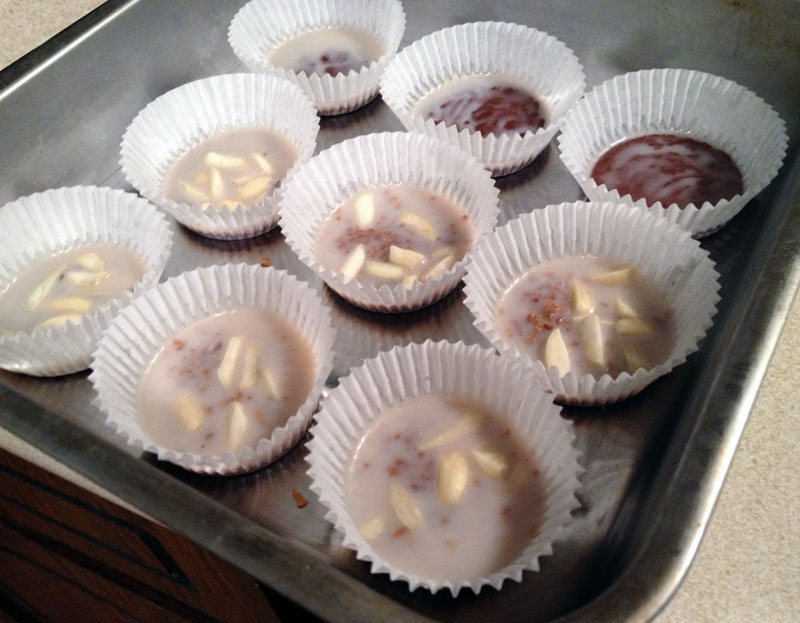
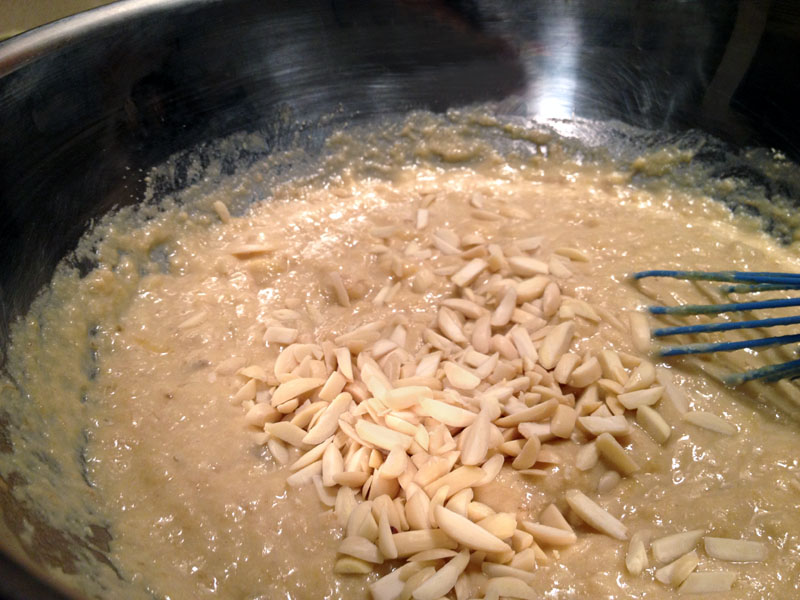
3. Pour some chocolate into your cupcake liners, then sprinkle in the coconut and almonds.
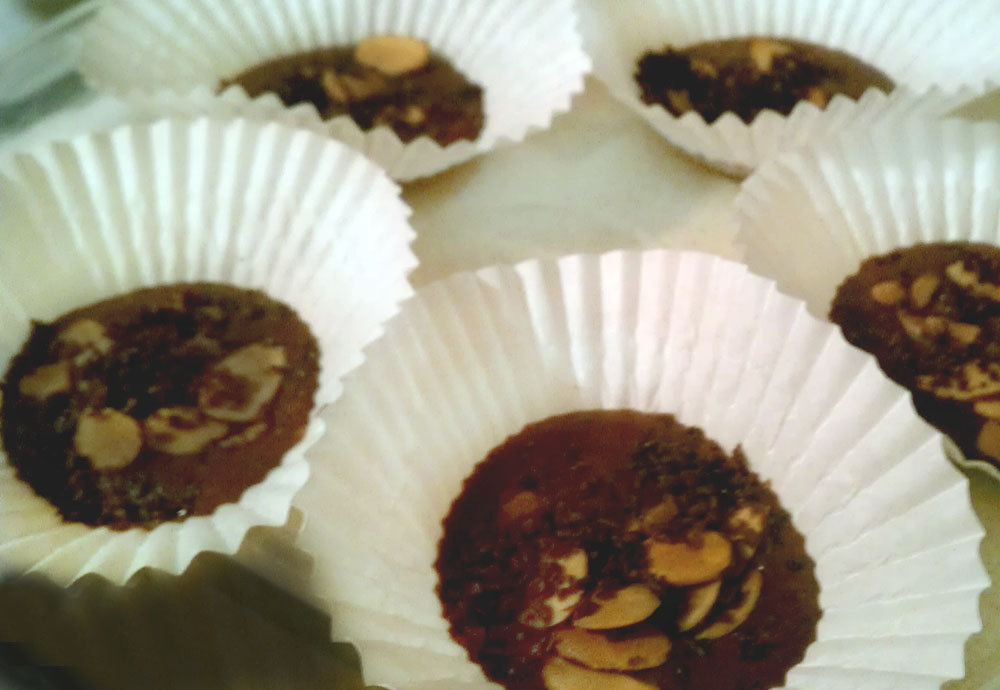
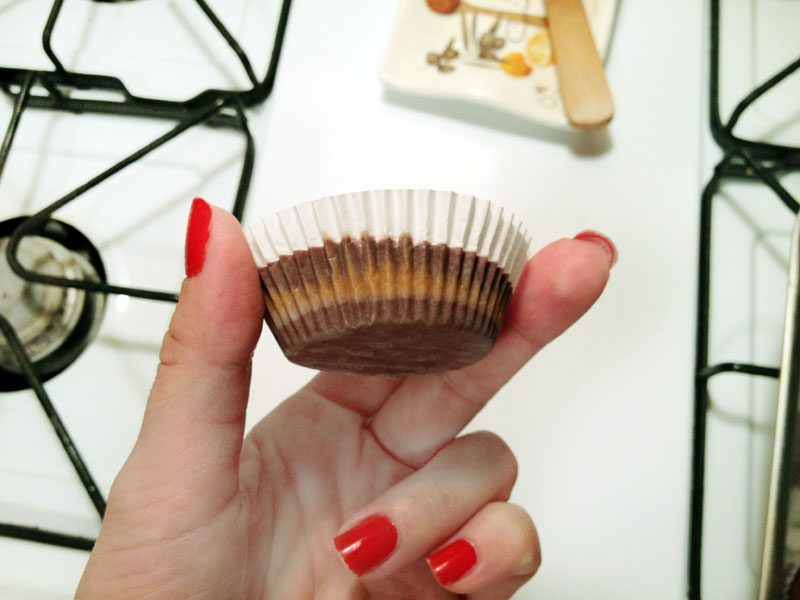
4. Put them in the fridge or freezer for at least 10 minutes, or until you’re ready to eat them.
 Enjoy!